OHLC Chart [Deprecated]
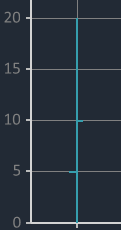
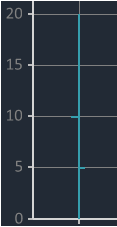
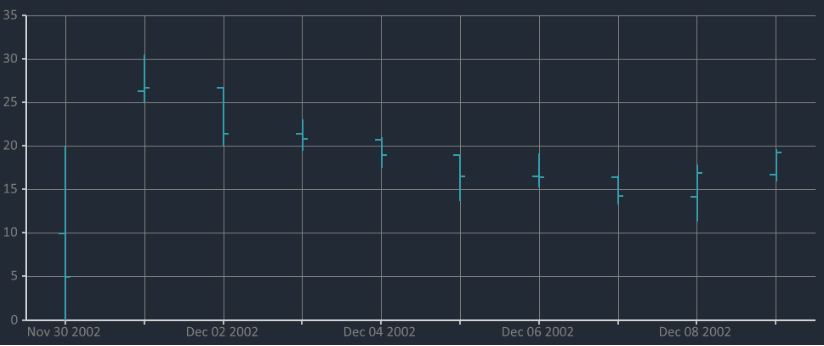
Easily monitor price movement over a period of time using OHLC chart. This is a financial chart common in stock trading.
How to display OHLC chart using Bunifu Dataviz
private void render()
{
    var canvas = new Bunifu.Dataviz.WinForms.BunifuDatavizAdvanced.Canvas();
    var datapoint = new Bunifu.Dataviz.WinForms.BunifuDatavizAdvanced.DataPoint(Bunifu.Dataviz.WinForms.BunifuDatavizAdvanced._type.Bunifu_ohlc);

    datapoint.addxy("new Date (2002,11,10)", new JArray(16.23, 17.99).ToString());
    datapoint.addxy("new Date (2002, 11, 9)", new JArray(15.95, 19.25).ToString());
    datapoint.addxy("new Date (2002, 11, 8)", new JArray(11.30, 16.88).ToString());
    datapoint.addxy("new Date (2002, 11, 7)", new JArray(13.29, 14.28).ToString());
    datapoint.addxy("new Date (2002, 11, 6)", new JArray(15.23, 16.45).ToString());
    datapoint.addxy("new Date (2002, 11, 5)", new JArray(13.70, 16.50).ToString());
    datapoint.addxy("new Date (2002, 11, 4)", new JArray(17.50, 19.00).ToString());
    datapoint.addxy("new Date (2002, 11, 3)", new JArray(19.50, 20.85).ToString());
    datapoint.addxy("new Date (2002, 11, 2)", new JArray(20.07, 21.44).ToString());
    datapoint.addxy("new Date (2002, 11, 1)", new JArray(25.00, 26.70).ToString());

    canvas.addData(datapoint);
    bunifuDataViz1.Render(canvas);

}Private Sub render()
Dim canvas = New Bunifu.DataViz.WinForms.Canvas()
Dim datapoint = New Bunifu.DataViz.WinForms.DataPoint(Bunifu.DataViz.WinForms.BunifuDataViz._type.Bunifu_ohlc)
datapoint.addxy("new Date (2002,11,10)", New JArray(16.23, 17.99).ToString())
datapoint.addxy("new Date (2002, 11, 9)", New JArray(15.95, 19.25).ToString())
datapoint.addxy("new Date (2002, 11, 8)", New JArray(11.30, 16.88).ToString())
datapoint.addxy("new Date (2002, 11, 7)", New JArray(13.29, 14.28).ToString())
datapoint.addxy("new Date (2002, 11, 6)", New JArray(15.23, 16.45).ToString())
datapoint.addxy("new Date (2002, 11, 5)", New JArray(13.70, 16.50).ToString())
datapoint.addxy("new Date (2002, 11, 4)", New JArray(17.50, 19.00).ToString())
datapoint.addxy("new Date (2002, 11, 3)", New JArray(19.50, 20.85).ToString())
datapoint.addxy("new Date (2002, 11, 2)", New JArray(20.07, 21.44).ToString())
datapoint.addxy("new Date (2002, 11, 1)", New JArray(25.00, 26.70).ToString())
canvas.addData(datapoint)
bunifuDataViz1.Render(canvas)
End Sub


Last updated
Was this helpful?